
How to Automate AI Content Marketing with ChatGPT and Make.com (Part 1/13)

Writing articles is one job. Publishing them is another.
If you run a blog for SEO, you probably know the annoying part: copy the text, format it, create images, upload everything, set categories, add tags, publish, and then track what happened. It is not difficult, but it gets repetitive very fast.
In this guide, I’ll walk through a simple content marketing automation setup built with Make.com. The idea is straightforward: store keywords in Google Sheets, generate blog content and images automatically, and publish posts to WordPress on a schedule. If you want a practical no-code workflow for regular blog publishing, this is a very good place to start.
Table of Contents
- Step 1: Start with the real problem you want to solve
- Step 2: Decide what your content pipeline should do
- Step 3: Prepare your website and blog structure first
- Step 4: Build a keyword list in Google Sheets
- Step 5: Create the Make.com scenario that reads the keywords
- Step 6: Generate the article in separate parts
- Step 7: Add internal links and banners as part of the workflow
- Step 8: Generate SEO elements for the post
- Step 9: Generate the hero image and extra images automatically
- Step 10: Upload images and place them inside the article
- Step 11: Select category and tags automatically
- Step 12: Publish the post to WordPress and save the result
- Step 13: Schedule the automation to publish daily
- Step 14: Be realistic about content quality
- Step 15: Keep the system simple at first, then expand it
- Step 16: Know when this setup is a good fit
- Summary
Step 1: Start with the real problem you want to solve
The main goal here is not “AI content” for the sake of it. The real goal is to remove the boring manual work around publishing.
If you like writing, you may still want to keep writing. But even then, there are many small tasks that eat time:
- Uploading articles into WordPress
- Creating blog images
- Formatting the post
- Adding categories and tags
- Saving post URLs and publication details somewhere
When you do this once, it is fine. When you do it again and again for dozens of posts, it becomes a chore.
That is where Make.com fits nicely. It gives you a visual workflow builder, and for this kind of task it is surprisingly easy to understand.

Step 2: Decide what your content pipeline should do
Before touching any automation tool, it helps to define the pipeline in plain English.
In this setup, the desired outcome is simple: publish regular SEO posts to a WordPress website automatically.
The workflow uses these tools:
- WordPress for the blog
- Google Sheets to store the keyword list and post tracking data
- Make.com to run the whole automation
- GPT to help generate article content and metadata
- Nano Banana to generate blog images
This is a good combination for non-technical marketers because every part is visual and fairly accessible. No coding is required for the core process.
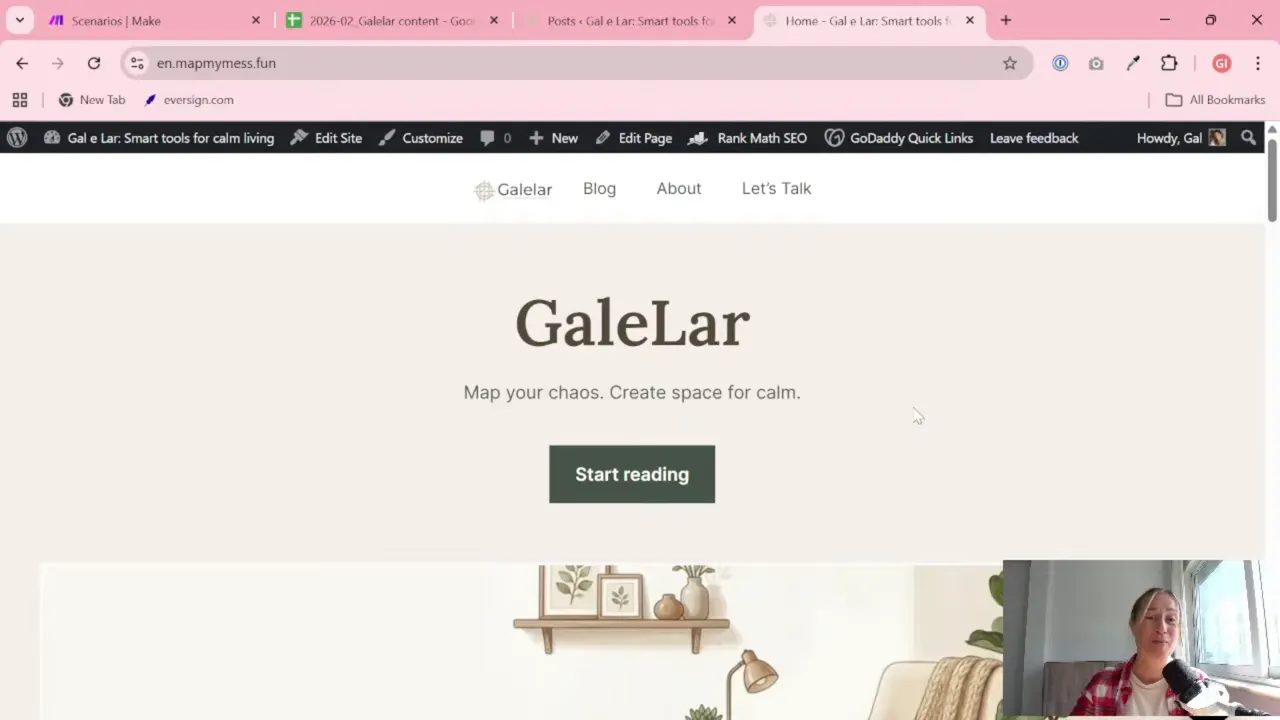
Step 3: Prepare your website and blog structure first
Automation works better when the destination is already organized.
Before running the scenario, the website itself should exist, and the basic pages should already be created. The blog then becomes one regular publishing stream inside that site.
That matters because automation is not a substitute for structure. It is more like a helpful assistant. If your categories, pages, and site setup are messy, the automation will just help you create messy content faster. Not ideal.
For this workflow, WordPress is the publishing platform. If you use something else, it may still be possible to automate, but you would need a suitable API or connector.
Step 4: Build a keyword list in Google Sheets
The content starts with keyword research.
Instead of brainstorming every day, a list of blog topics is prepared in advance and stored in Google Sheets. In the example workflow, around 100 keywords are prepared so the system can keep publishing over time.
This is a smart approach for a few reasons:
- You keep control over the topics
- You can align content with your niche
- You can plan publishing weeks ahead
- You avoid random article generation
Think of Google Sheets as the control panel for the whole system. It tells Make.com what to write about, and later it can also store the output.
If you are just starting, your sheet can be very simple. Even one column with keywords is enough for the first version.
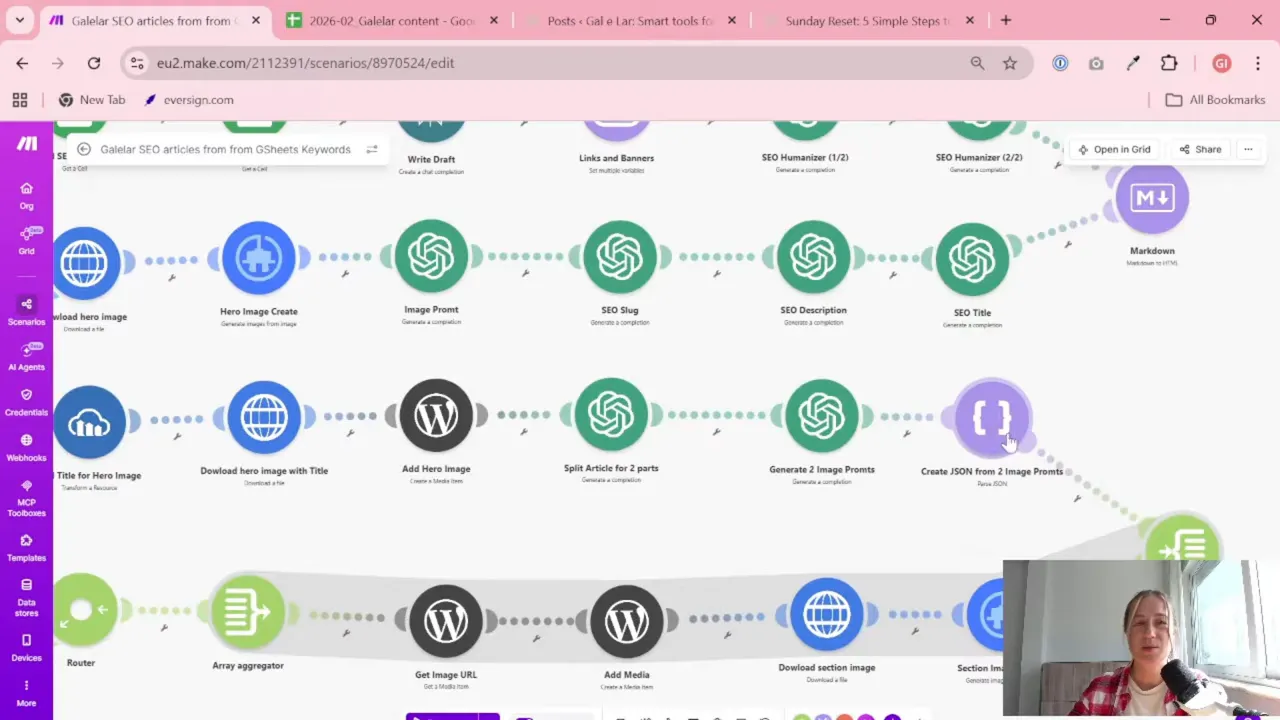
Step 5: Create the Make.com scenario that reads the keywords
Once the keywords are ready, Make.com becomes the engine.
The scenario starts by taking a keyword from Google Sheets. From there, the workflow moves through a chain of actions that gradually build the blog post.
The overall flow looks like this:
- Read a keyword from Google Sheets
- Generate article ideas or thesis points
- Write the article draft in sections
- Create title, description, and slug
- Generate image prompts
- Create blog images
- Upload assets to WordPress
- Add categories and tags
- Publish the post
- Save the result back to Google Sheets
That may sound like a lot, but this is exactly why automation is useful. Each individual step is small. Together, they create a full publishing system.
My Go-To Tool for Building This Automation
For automation, one of my favorite tools is Make.com.
I use it to connect different tools and automate repetitive workflows — for example moving data between APIs, Google Sheets, and reporting systems.

Step 6: Generate the article in separate parts
One helpful detail in this workflow is that the article is not created as one giant block all at once. It is built in parts.
That gives you more flexibility.
For example, the process can include:
- A first section of the article
- A second section of the article
- An extra section for links, banners, or promotional blocks
- Another content section after that
This is especially useful if you want your blog posts to follow a repeatable structure. Maybe you always want an intro, then educational content, then internal links, then a final section. Splitting the article into components makes that easier.
It also makes future improvements easier. You can swap just one part of the workflow without rebuilding everything.
And yes, this is where a lot of people overcomplicate things. You do not need a perfect content engine on day one. A simple draft pipeline is enough to save a lot of time.
Step 7: Add internal links and banners as part of the workflow
This part is easy to overlook, but it is actually very useful for SEO blog management.
The workflow includes a section for links and banners. That means you can add things like:
- Links to other articles on your blog
- Internal navigation between related topics
- Promotional blocks
- Banners you may want to use later when traffic grows
At the beginning, you may not have many internal links available yet. That is normal. But once your site starts growing, this part becomes more valuable because the system can help connect your content pieces together.
This is one of those details that turns “automatic publishing” into “automatic publishing with structure.” Big difference.
Step 8: Generate SEO elements for the post
After the article body is created, the workflow generates the supporting SEO pieces.
These include:
- Title
- Meta description
- Slug
- Image prompt
This is an important step because publishing a post without these fields usually means more manual cleanup later.
When they are created inside the same scenario, the post is much closer to publication-ready by the time it reaches WordPress.
Even if you later review and edit the text manually, having these fields pre-filled is a big time saver.
Step 9: Generate the hero image and extra images automatically
Images are one of the most annoying repetitive tasks in blogging. Necessary? Yes. Fun after the fiftieth one? Not really.
In this setup, Nano Banana is used to generate the visuals automatically.
The process includes:
- A main hero image for the article
- Additional internal images for the body content
The workflow uses Nano Banana Pro for the hero image and the standard version for internal images. The main image is uploaded to the website first, and then the article content can be split or analyzed further to generate two more supporting images.
This is a practical approach because blog images often follow a similar style. If your site has a consistent visual direction, automatic generation can handle a lot of that routine work.
Step 10: Upload images and place them inside the article
Creating the images is only half the job. They still need to be uploaded and attached to the post correctly.
In the scenario, the main image is uploaded to the website, and then the extra images are also added to the article content. This helps the final post feel more complete and less like a wall of text.
Even simple images improve readability. They break up sections and make the post easier to scan.
If your current publishing process involves manually generating a thumbnail, downloading it, uploading it, copying the URL, and inserting it in the right place, this automation step alone can feel like a gift from the internet gods.
Step 11: Select category and tags automatically
Once the content and images are ready, the next step is organization inside WordPress.
The scenario selects:
- Category
- Tags
- Final tag adjustments
This helps each post land in the right place on the site without extra manual work.
Categories and tags may seem like a small detail, but if you plan to publish regularly, they matter. They help structure your archive, improve navigation, and keep the blog from turning into a random pile of articles.

Step 12: Publish the post to WordPress and save the result
After everything is assembled, the scenario creates the post on the website and gets the published post link.
Then that result is written back into Google Sheets.
This is a very good habit because your sheet becomes more than just a keyword list. It becomes a publication log.
The tracked fields include things like:
- Date the post was created
- Category
- Tag
- Site URL
- Image URL
- Publication status
- Prompt or metadata details
That means you can always go back and check what was generated, when it was published, and which scenario produced it.
When you start running several automations, this kind of tracking becomes extremely helpful.
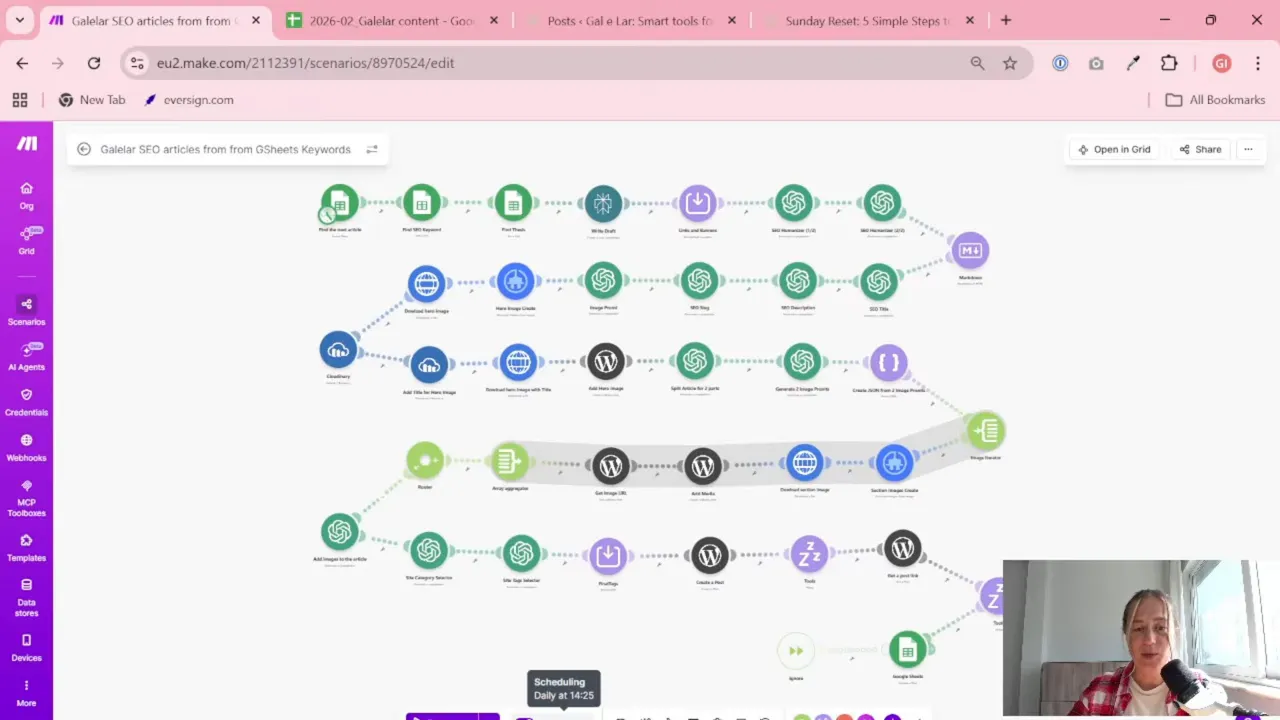
Step 13: Schedule the automation to publish daily
The scenario is scheduled to run automatically every day at 2:25 p.m.
This is one of the nicest parts of the whole setup. Once your keyword list is prepared, the system can keep publishing on a regular rhythm without needing daily attention.
With around 100 keywords in the sheet, that creates a long publishing runway.
A daily schedule makes sense for SEO projects because consistency matters. You do not need to publish ten posts in one afternoon and then disappear for a month. A steady flow is usually easier to manage and review.
Also, from a workflow perspective, one post per day is much easier to monitor if something goes wrong.
Step 14: Be realistic about content quality
This is important.
Automated content is not automatically perfect content.
The system described here works well, but it is not presented as magic. If you write articles yourself, your manual version will often be better. That is normal. Human expertise, experience, and tone still matter a lot.
The value of this workflow is speed and repeatability.
It is especially useful when:
- You need a first draft quickly
- You want to keep an SEO blog active
- You are tired of repetitive publishing tasks
- You want to enrich existing writing with images, links, and structure
A very practical idea mentioned in this setup is to use your own existing articles as the base. Instead of generating from zero, you can rewrite, expand, or improve content you already created. Then the automation can help with everything around it: formatting, links, images, metadata, and publishing.
That hybrid approach is often the most sensible one.
Step 15: Keep the system simple at first, then expand it
One of the best things about this workflow is that it is easy to extend later.
For example, there are already related scenarios for:
- Creating social media posts
- Building articles from social media content
- Adding more structured link and banner blocks
You do not need all of that on day one.
Start with the core path:
- Keyword in Google Sheets
- Article generation
- Image generation
- WordPress publishing
- Result tracking in Google Sheets
Once that works, then improve it. Add internal linking rules. Add better prompts. Add social distribution. Add a review step if needed.
That is usually the easiest way to build automations that actually survive longer than one enthusiastic weekend.
Step 16: Know when this setup is a good fit
This kind of automation is especially useful if you have an SEO blog and want regular output without manually handling every publishing task.
It is a good fit for:
- Freelancers running niche blogs
- Business owners publishing educational content
- Marketers testing SEO content at scale
- People who already have a WordPress site and want a simpler workflow
It is probably less useful if you publish highly researched expert content that needs heavy manual review before going live. In that case, you may still use the automation, but more as a drafting and publishing assistant than a full autopilot.
Summary
If you are tired of manually publishing blog posts, a Make.com workflow like this can remove a huge amount of repetitive work.
The setup is simple in concept: keep your keywords in Google Sheets, generate article sections and SEO metadata, create images automatically, publish to WordPress, and log the result back into your sheet. The tools used here are WordPress, Google Sheets, Make.com, GPT, and Nano Banana.
The biggest benefit is not that everything becomes perfect. It is that everything becomes repeatable.
For SEO blogging, that matters a lot. And if you already have your own ideas, your own articles, or your own tone, you can combine that with automation instead of replacing it.
Start small. Automate the boring parts first. That is usually where the biggest win is.
Want to go further with your data and automation setup?
