
Auto Assign WordPress Tags: 5 Smart Steps for Clarity
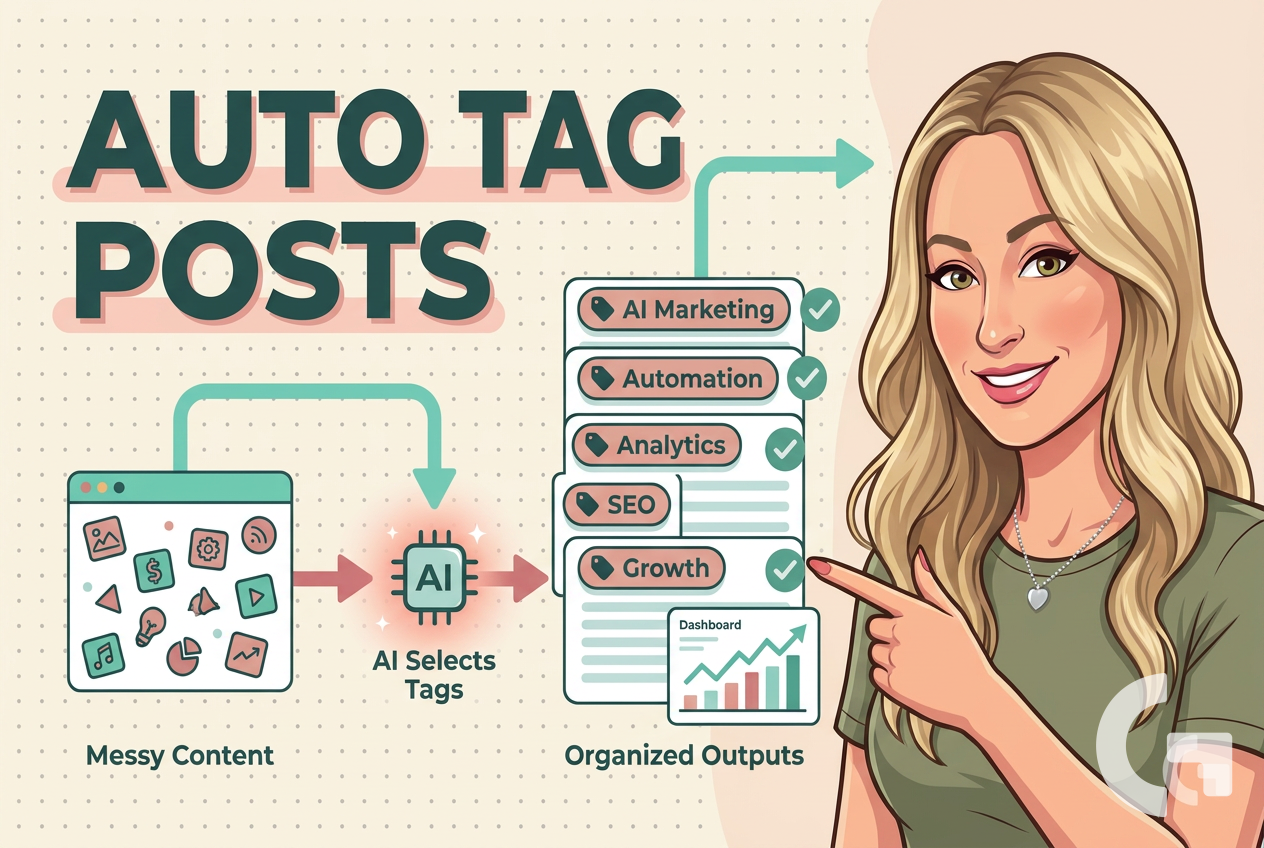
If you are building an automated content workflow for WordPress, generating the article is only part of the job. You also need to place each post into the right category and add useful tags, otherwise your blog quickly becomes messy.
This is where many automations get a bit annoying. WordPress does not want category names or tag labels in a casual format. It wants IDs, and tags can be especially tricky when you need to send several of them in a way WordPress understands.
In this guide, I’ll walk through a simple setup for selecting categories and tags automatically in Make using ChatGPT, then passing that information into your WordPress posting flow. If you are creating AI-assisted blog content at scale, this small step makes the whole process much cleaner.
Table of Contents
- Step 1: Understand what makes tags and categories tricky in WordPress automation
- Step 2: Find the category IDs in your WordPress admin
- Step 3: Create a category-selection prompt in Make
- Step 4: Keep the category model lightweight
- Step 5: Find the tag IDs the same way
- Step 6: Create a tag-selection prompt that returns multiple IDs
- Step 7: Format the tag output so WordPress can understand it
- Step 8: Build the logic around real WordPress taxonomy, not guesses
- Step 9: Use the final article as the input for classification
- Step 10: Keep the rest of the scenario simple
- Step 11: Practical tips to avoid common mistakes
- Step 12: Think of tags and categories as part of content quality
- Summary
Step 1: Understand what makes tags and categories tricky in WordPress automation
On the surface, this sounds easy: generate an article, send it to WordPress, and assign a category and a few tags. But when you automate this, there is one important detail.
WordPress does not simply guess what you mean from text labels. In many setups, it expects the internal IDs of your categories and tags. So instead of sending something like “Lifestyle” or “SEO,” your scenario often needs to send values like 20 or 35.
That means your workflow needs to do three things well:
- Know which categories and tags already exist on your WordPress site
- Give that list to ChatGPT in a structured prompt
- Return the result in a format Make and WordPress can use
Once this is clear, the rest becomes much easier.
Step 2: Find the category IDs in your WordPress admin
Before asking AI to choose a category, you need to collect the valid options from your website.
In WordPress, go to your post categories section. There, you can hover over a category with your mouse and inspect the link shown at the bottom of the browser. In that link, WordPress usually reveals the category ID.
For example, if you hover over a category like “Lifestyle,” you may see something like a URL containing tag_ID=20. That number is what matters.
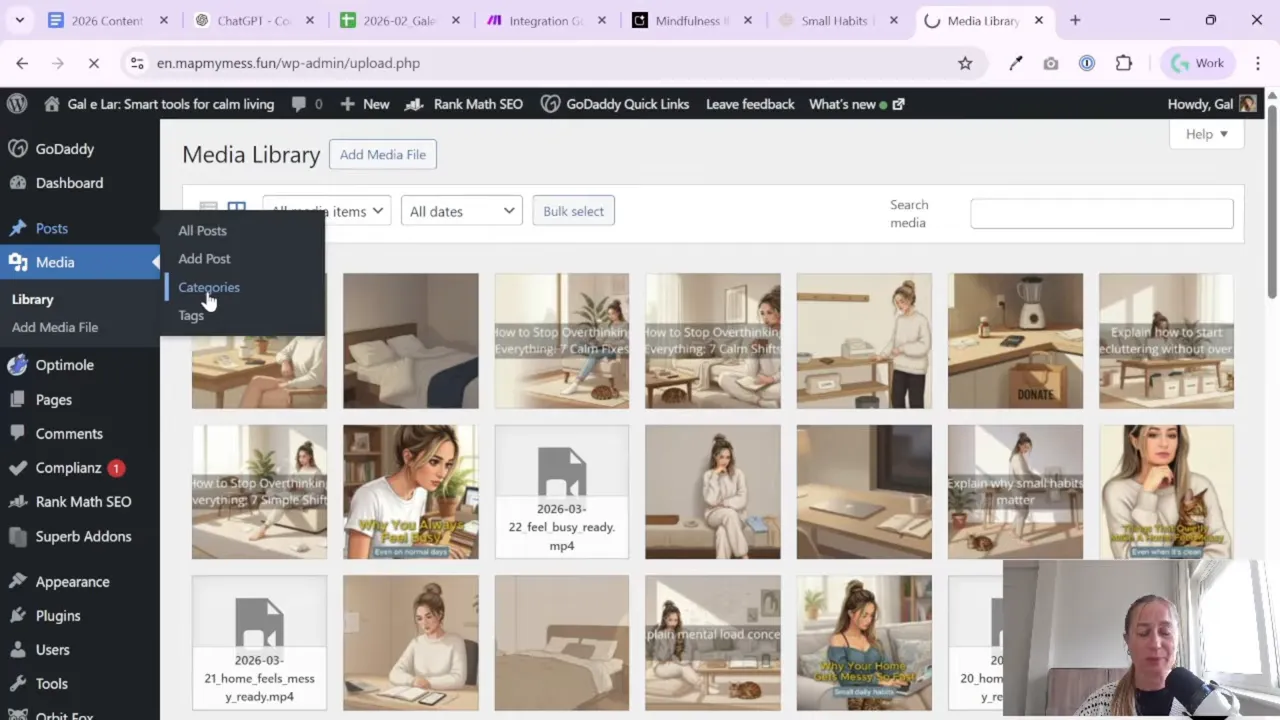
This is the practical way to build your category list. You are not inventing categories inside the automation. You are taking the real categories that already exist on your blog and mapping them to their real IDs.
A simple list might look like this:
- Lifestyle = 20
- Marketing = 21
- Analytics = 22
You can then place that list directly into your system prompt so the model chooses only from approved options.
If you care about keeping your content operation organized over time, this matters a lot. Clean categorization makes the blog easier to browse, and it also helps when you later analyze content performance in tools like GA4, Search Console, or Looker Studio. If you want to go deeper into measuring content results, this guide on blog and content website analysis is a useful next step.
Step 3: Create a category-selection prompt in Make
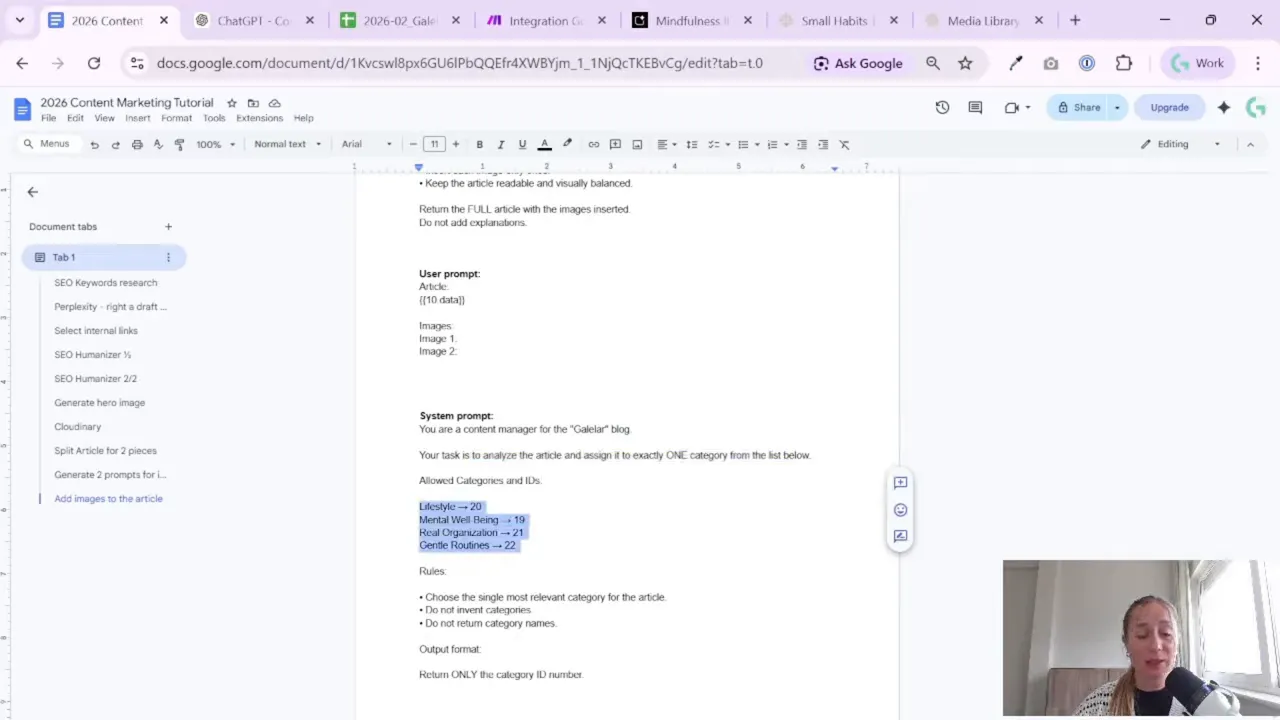
In Make, the setup uses a ChatGPT module to analyze the final article and select one category.
The logic is simple:
- The system prompt explains the role of the model
- It includes the list of allowed categories and their IDs
- The user prompt sends the finished article text
- The model returns only one number: the category ID
The role instruction can be phrased in a very practical way. Something like:
- You are the content manager for my blog
- Analyze the article
- Choose one category from the list below
- Return only the numeric ID
That “return only the numeric ID” part is important. You want the answer to be predictable. If the model starts replying with sentences like “This article fits best into Lifestyle,” you create extra cleanup work in Make.
My Go-To Tool for Building This Automation
For automation, one of my favorite tools is Make.com.
I use it to connect different tools and automate repetitive workflows — for example moving data between APIs, Google Sheets, and reporting systems.
For the article input, use your final generated post content. If your workflow already has a polished HTML version of the article, that is fine to use. The point is to classify the final text, not an early draft.
This module can be named something clear like Select Category. Clear names help a lot once your scenario grows.
Step 4: Keep the category model lightweight
This task is not very complicated. You are not asking the model to write a long article or do deep reasoning. You are asking it to choose from a short predefined list.
Because of that, you can usually use a smaller or cheaper model for classification tasks like this. That keeps costs down, which matters if you plan to publish regularly.
This is a good habit for automation in general:
- Use stronger models where quality really matters, like content generation
- Use smaller models for simple support tasks, like classification or formatting
A lot of Make scenarios become expensive not because one task is huge, but because many tiny tasks run over and over again.
Step 5: Find the tag IDs the same way
Tags follow the same general logic as categories, but there is one key difference: a single article usually needs several tags, not just one.
To prepare for this, go to the Post Tags section in WordPress and hover over each tag to find its ID in the URL. Again, you are looking for the number attached to that tag.
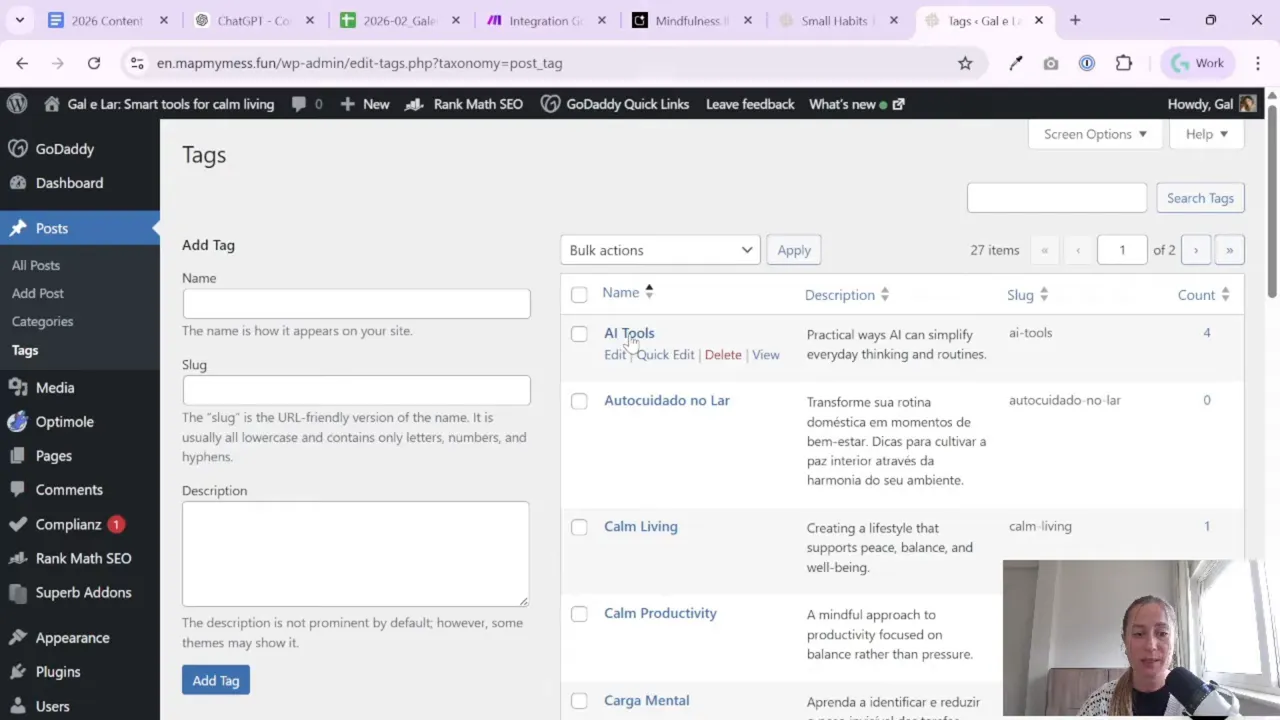
For example:
- SEO = 35
- Content Marketing = 36
- WordPress = 37
- Automation = 38
Make sure these tags already exist in WordPress before you build the prompt. The automation is selecting from your prepared structure, not creating taxonomy from scratch.
This is actually a smart approach for content quality too. If AI is allowed to invent a new tag every time, your blog taxonomy can become a disaster very quickly. You end up with ten slightly different tags for the same topic.
Better to define a clean set once, then reuse it consistently.
Step 6: Create a tag-selection prompt that returns multiple IDs
Now duplicate or clone the category-selection module and adapt it for tags.
The prompt structure is similar, but this time you want the model to choose several tags from your approved list. In the workflow shown, the goal is to select roughly 2 to 4 tags per article.
Your system prompt should explain:
- The model is choosing tags for a blog article
- It must use only the tags from the provided list
- It should select 2 to 4 relevant tags
- It should return the result in a clean format for automation
The user prompt again contains the final article text.
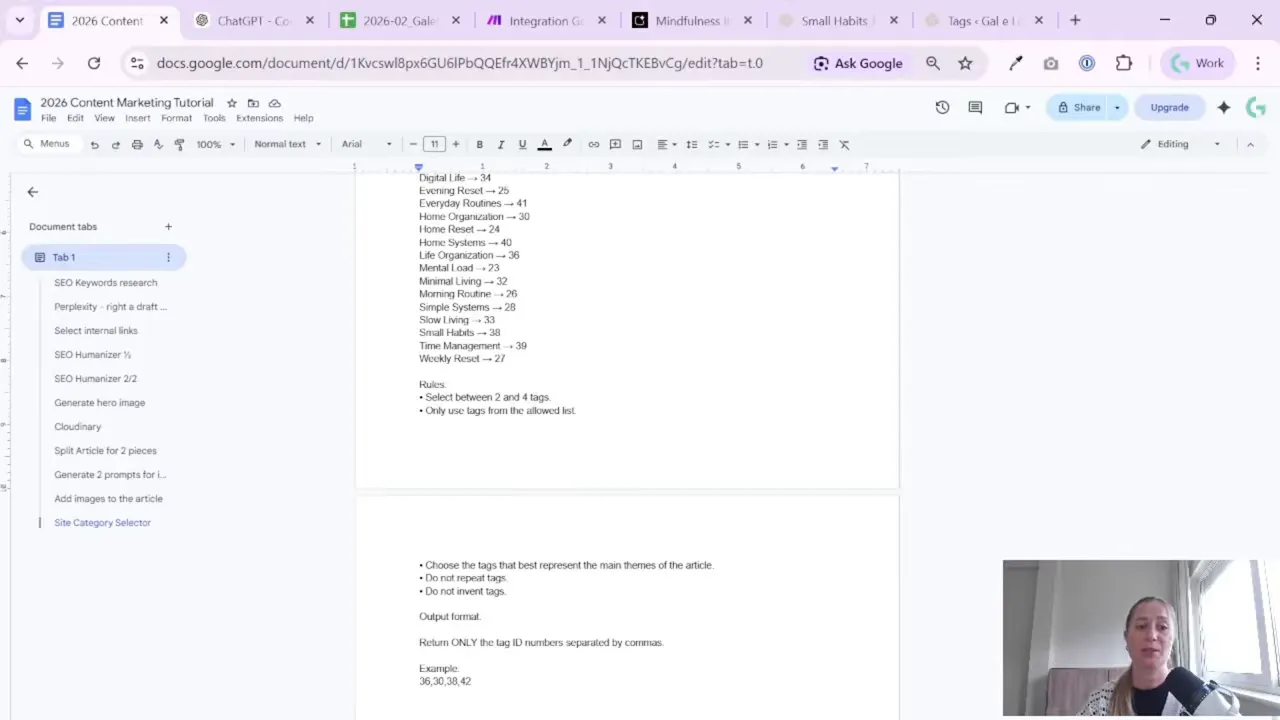
This is also a good place to use a cheaper mini model, because tag selection is usually a small classification job. The difficult part is not the intelligence required. The difficult part is passing the result to WordPress correctly.
Step 7: Format the tag output so WordPress can understand it
This is the part that tends to cause the most friction.
One category is easy. One number goes in, one category is assigned.
Tags are different because you need to send multiple values. And the output format from your AI module is not automatically the format WordPress expects.
So even if your tag selector successfully picks the right tags, the post upload can still fail or behave strangely if the values are not prepared properly.
That is why the workflow adds an extra step after the tag-selection model: a Set Variable tool inside Make.
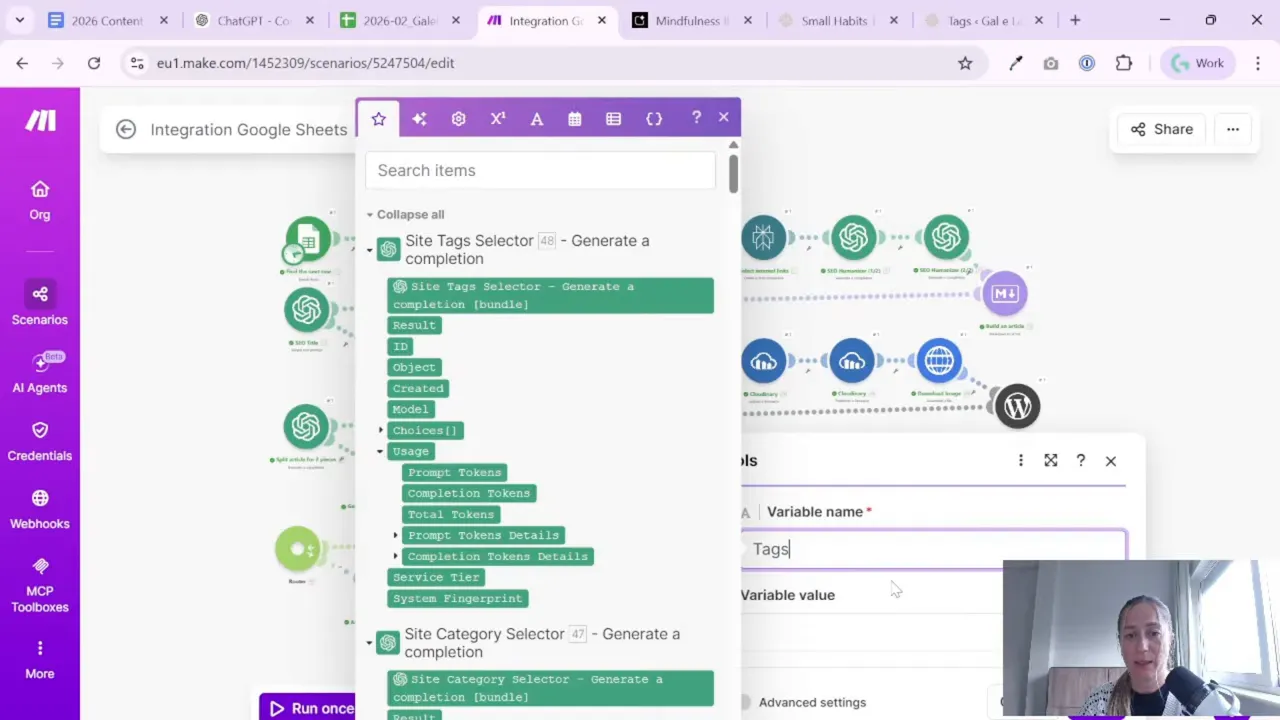
Here, the variable name is something simple like tags, and the variable value is the output coming from the tag selector model.
In other words:
- ChatGPT selects the tag IDs
- Make stores them in a dedicated variable
- That variable is then passed forward into the WordPress post creation step
This extra little formatting layer is the “magic” that makes the tags usable later in the scenario.
Step 8: Build the logic around real WordPress taxonomy, not guesses
There is a bigger lesson here that is useful beyond this exact setup.
When you automate publishing, don’t ask AI to make open-ended taxonomy decisions with no boundaries. Give it a controlled list tied to your actual WordPress structure.
That means:
- Use real category IDs from WordPress
- Use real tag IDs from WordPress
- Tell the model exactly how many options to choose
- Tell it exactly what format to return
This approach keeps your site organized and your automation reliable.
It also makes future reporting easier. If categories and tags are assigned consistently, you can later analyze publishing themes, content groups, and topic performance much more cleanly. If reporting and content structure are both important to you, the broader Gaille Reports blog has more practical guides in this same hands-on style.
Step 9: Use the final article as the input for classification
One small but important detail in this workflow is that the AI module reads the final article, not a rough note or headline.
Why does that matter?
Because the final article contains the complete meaning of the post. A title can be ambiguous. A draft can be missing context. But the final content gives the model the best chance to assign the most relevant category and tags.
That improves consistency, especially if your content topics overlap a bit.
For example, a post might mention both SEO and content writing, but after reading the full article, the model may correctly classify it under one main category and choose a balanced set of tags.
In short: classify the finished asset, not the early idea.
Step 10: Keep the rest of the scenario simple
Once category and tag selection are working, the remaining flow becomes much more straightforward.
The scenario described here is part of a bigger automated system that:
- Generates blog articles
- Assigns categories
- Assigns tags
- Publishes to WordPress
- Saves tracking information in Google Sheets
That last part is especially useful. Logging content details in Google Sheets gives you a lightweight tracking layer for your blog operation. You can store things like:
- Post title
- Publish date
- Category ID
- Tag IDs
- URL
You do not need to make this complicated. A simple spreadsheet is often enough to keep your publishing pipeline visible and organized.
If you later want to turn that tracking into a dashboard, you can always connect Google Sheets to reporting tools and build from there. That is often the easiest route for non-technical teams.
Step 11: Practical tips to avoid common mistakes
Here are the biggest takeaways if you want this setup to work smoothly from the start.
Use existing WordPress IDs
Do not rely on category names alone. Pull the actual IDs from your WordPress admin.
Be strict in the prompt
Tell the model exactly what to return. For categories, return one number only. For tags, return a clean list of approved IDs.
Limit the choices
Give the model only the categories and tags that exist on your site. This reduces weird outputs and keeps your blog tidy.
Use smaller models for simple tasks
Classification does not always need your most expensive AI model.
Store tags in a variable before posting
This helps bridge the gap between the AI response format and the format WordPress expects.
Name modules clearly
Simple names like “Select Category,” “Select Tags,” and “Set Tags Variable” make troubleshooting much easier later.
Step 12: Think of tags and categories as part of content quality
It is easy to treat tags and categories like admin details. But they shape how usable your blog feels.
Good structure helps people browse related content. It also helps you keep your publishing strategy focused. If every article is categorized and tagged consistently, your site becomes easier to maintain and easier to analyze.
That is why this automation step is worth doing well. It is not only about saving time. It is about keeping quality while saving time.
And honestly, that is usually the real goal with AI workflows. Not “publish as much as possible,” but “publish faster without turning the website into chaos.”
Summary
To automatically assign WordPress categories and tags in Make, start by collecting the real taxonomy IDs from your WordPress admin. Then build two simple ChatGPT classification steps: one that returns a single category ID, and another that returns several tag IDs. After that, use a Make variable step to store the tags in a format your WordPress post module can handle.
The idea is simple, but very practical: give AI a controlled list, let it classify the final article, and pass structured data into WordPress. That keeps your automated publishing flow clean, cheaper to run, and much easier to manage.
If you are building a full content automation system, this is one of those small pieces that makes the whole setup feel polished. Simple on paper, very useful in real life.
Want to take your automation and reporting further?
