
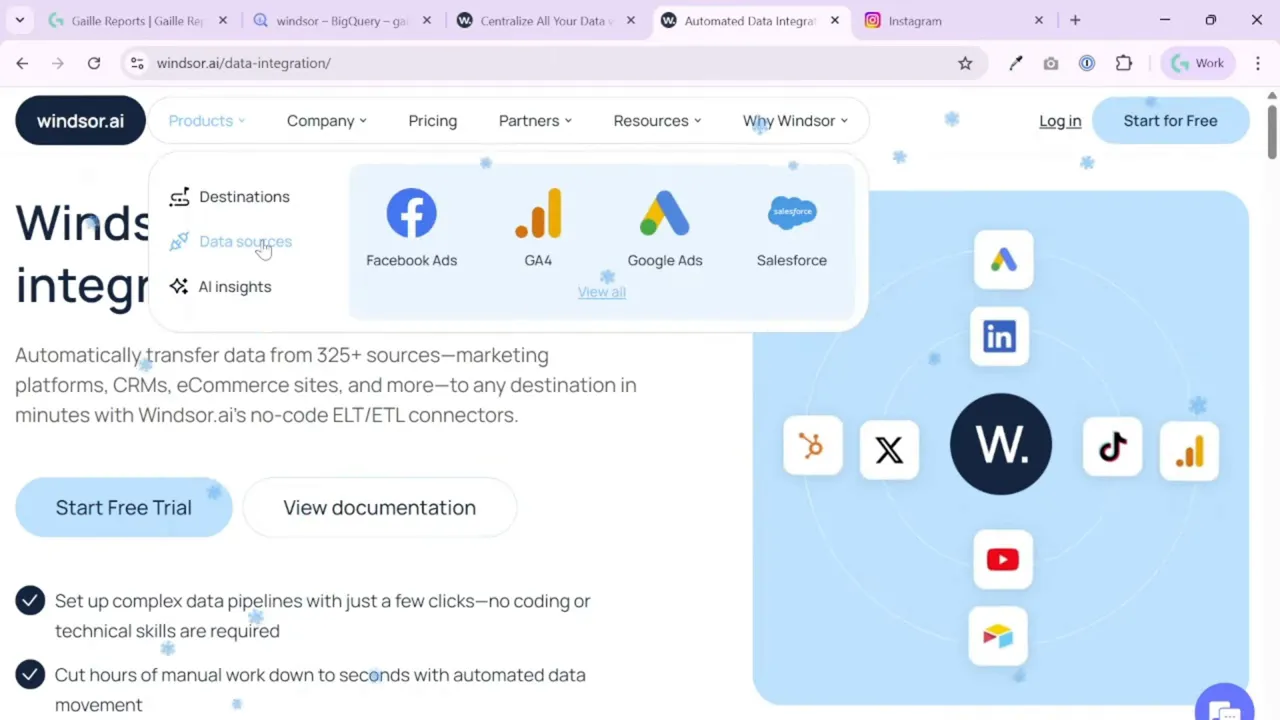
Facebook Ads → BigQuery with Windsor.ai: Quick, No-Code Setup

If you want to centralize Meta Ads data in BigQuery without writing a single line of code, this is a practical, step-by-step walkthrough you can follow. I show a fast, reliable setup using Windsor.ai that pulls Facebook (Meta) Ads data into BigQuery, keeps it synced daily, and backfills historical data so you can start analyzing in Looker Studio or with SQL right away.
Watch the short walkthrough here:
You can also try Windsor.ai — use code gaillereports for 10% off.
Step 1: Choose Windsor.ai and connect your Meta Ads account
I use Windsor.ai because it supports hundreds of connectors and makes API-based syncing easy. After you register, pick the connector for Meta (Facebook) Ads from the onboarding list and grant Windsor.ai the requested permissions for the ad account you want to export.
On the onboarding screen you’ll see account options and a place to authorize Meta. Select the specific ad account you want to export and move to the data setup.
Step 2: Pick fields and a preset report
Windsor shows a preview of the query on the left and configuration options on the right. You can either use one of their report presets or build a custom set of fields. For most reporting needs, I select the account-level preset and add a date field so I can slice by days.
Typical fields I include: clicks, link clicks, impressions, reach, frequency, and amount spent. Choose fields that match the KPIs you report on.
Step 3: Set BigQuery as the destination and add a destination task
Switch to the destination tab and choose BigQuery. Windsor.ai can push data to multiple destinations, but for centralized analytics, pick the BigQuery option and click Add Destination Task.
When you create the task, you’ll see the chosen fields listed. I like to keep the BigQuery table name identical to the task name so it’s easy to find later.
Step 4: Authenticate and map to your BigQuery project
Windsor.ai supports Google account or service account authentication. For most setups, a Google account authorization is enough. Allow Windsor.ai to connect and then pick the Google Cloud project and dataset where you want the table to live.
If you haven’t created a dataset yet, create one named something obvious like windsor or marketing_data. Then provide your preferred table name and decide how Windsor should handle updates.
Step 5: Decide update cadence, backfill range, and table behavior
This is where you control data freshness and cost. Important options:
- Sync window: Choose how many days to check and overwrite on each run. I often use a 3-day rolling window so Windsor.ai will re-sync the recent days and correct late-attributed conversions.
- Backfill: Select how much historical data to import initially. I usually backfill a year so I can analyze trends without manual exports.
- Partitioning and clustering: These are optional but useful to save BigQuery costs. If you don’t understand them yet, you can skip them and revisit later.
After you configure schedule and backfill, test the connection. A successful test means Windsor can write to your chosen dataset and table.
Step 6: Save, monitor the upload, and inspect the table in BigQuery
Click Save and Windsor.ai will start the backfill and create the BigQuery table. You can follow the task status inside Windsor.ai: it shows upload status and backfill progress. Once the initial load starts, you will see the table appear in BigQuery.
You can preview the table or run a simple SQL query to confirm the schema and data. If the backfill is still running, some rows may appear later, but you will already be able to query the table.
Step 7: Use, join, or blend your data
Now that Facebook Ads data lives in BigQuery, you can:
- Build multi-channel dashboards in Looker Studio by connecting to BigQuery.
- Write SQL to join Facebook with Google Ads, Analytics, or internal CRM tables.
- Use Windsor.ai blended data features to do some joins and calculations before data reaches BigQuery if you prefer a no-code route.
If you plan to join multiple ad platforms, keep consistent naming conventions for tables and date columns to make SQL simpler.
Tips, gotchas, and best practices
- Use a short re-sync window like 3 days to capture late attribution while limiting repeated large rewrites to BigQuery.
- Backfill thoughtfully. Pulling a full multi-year history is fine once, but avoid repeated giant backfills to save cost.
- Consider partitioning and clustering if you work with large tables. They reduce query costs and improve performance.
- Keep naming consistent for task and table names so collaborators can find data easily. I often name tasks and tables identically.
- Monitor task logs in Windsor.ai to catch auth or schema changes from Meta early.
Quick troubleshooting
If Windsor fails to write to BigQuery, check these first:
- Confirm Windsor.ai has the right permissions for the Google account or service account.
- Verify the selected BigQuery project and dataset exist and you have write access.
- Review the field mapping for any deprecated Facebook metrics — Meta sometimes changes metric names or availability.
Summary
Sending Facebook Ads data to BigQuery with Windsor.ai gives you a low-friction, maintainable pipeline for reporting and analysis. In a few clicks you can authorize Meta, select the fields you need, choose BigQuery as the destination, and schedule daily syncs with a historical backfill. This setup saves time, avoids manual exports, and makes cross-channel analysis simpler.
Promo reminder: try Windsor.ai with code gaillereports for 10% off.
Further reading
If you want to build dashboards or explore related workflow tips, check these posts and resources from the blog:
- How to Plan Your 2026 eCommerce Marketing Budget (Template)
- Looker Studio Tutorial #12 — How to Build Area Charts
- Windsor.ai for Looker Studio: Better Filters with Blended Data Sources
- How to install Windsor.ai add-on to Google Sheets?
These resources cover Looker Studio techniques and reporting best practices that pair nicely with a BigQuery-backed data pipeline.