
Automate WordPress Articles: 13 Smart Steps to Calm SEO
If you want to automate blog content without turning your website into a machine-written mess, this setup is a very practical place to start. The idea is simple: use Make.com to pull a keyword, generate an article in parts with OpenAI, format it, create SEO metadata, and prepare it for publishing on WordPress.
This is especially useful for marketers, freelancers, and business owners who want to save time but still keep some control over quality. In this guide, I’ll walk through the full logic of the workflow in plain English, including how to connect OpenAI to Make, why the article is split into two parts, and how the final post is assembled with title, description, and slug.
If you work with SEO or content reporting, you may also like the broader tutorials on the Gaille Reports blog, where automation and analytics are explained in the same practical way.
Table of Contents
- Step 1: Understand what this automation is supposed to do
- Step 2: Create your OpenAI account and make sure it has credits
- Step 3: Generate a secret API key in OpenAI
- Step 4: Add the OpenAI connection inside Make.com
- Step 5: Build the first article-writing module
- Step 6: Create a second module for the second half of the article
- Step 7: Add internal links and supporting content blocks
- Step 8: Combine everything with Markdown to HTML
- Step 9: Generate the SEO title
- Step 10: Generate the SEO meta description
- Step 11: Generate the slug for the URL
- Step 12: Test the full scenario and inspect the outputs
- Step 13: Keep the “human in the loop” even if the process is automated
- Practical notes before you build this yourself
- Summary
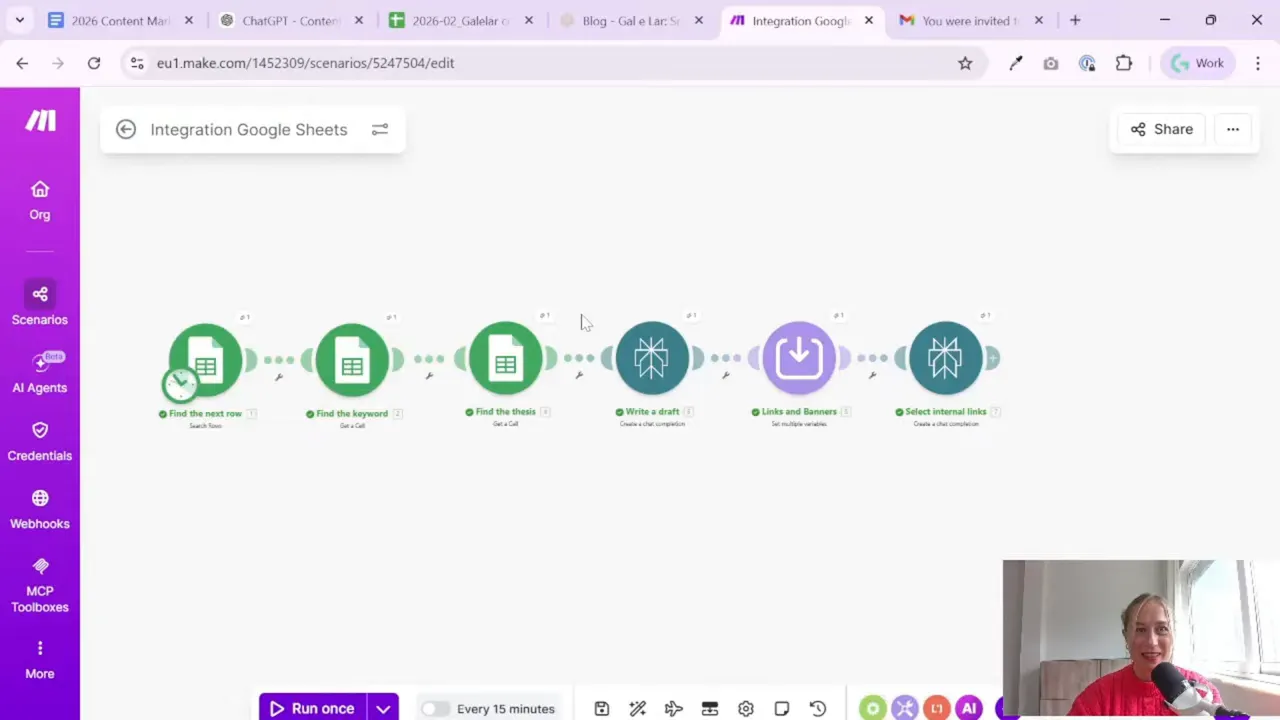
Step 1: Understand what this automation is supposed to do
Before opening Make or OpenAI, it helps to understand the full flow. This scenario is not just “ask AI to write a post.” It is a more structured content pipeline.
The workflow does the following:
- Reads the next keyword from Google Sheets
- Uses a draft or research input as the base content
- Generates the article in two sections
- Adds supporting elements like banners, social links, or internal links
- Combines everything into one formatted article
- Creates an SEO title
- Creates an SEO meta description
- Creates a slug for the URL
- Prepares the result for publishing on WordPress
This structure matters. If you ask AI to write one very long post in a single step, the result often gets weak in the middle. It can become repetitive, fluffy, or just strangely empty. Splitting the article into two parts gives you more control and usually produces cleaner writing.
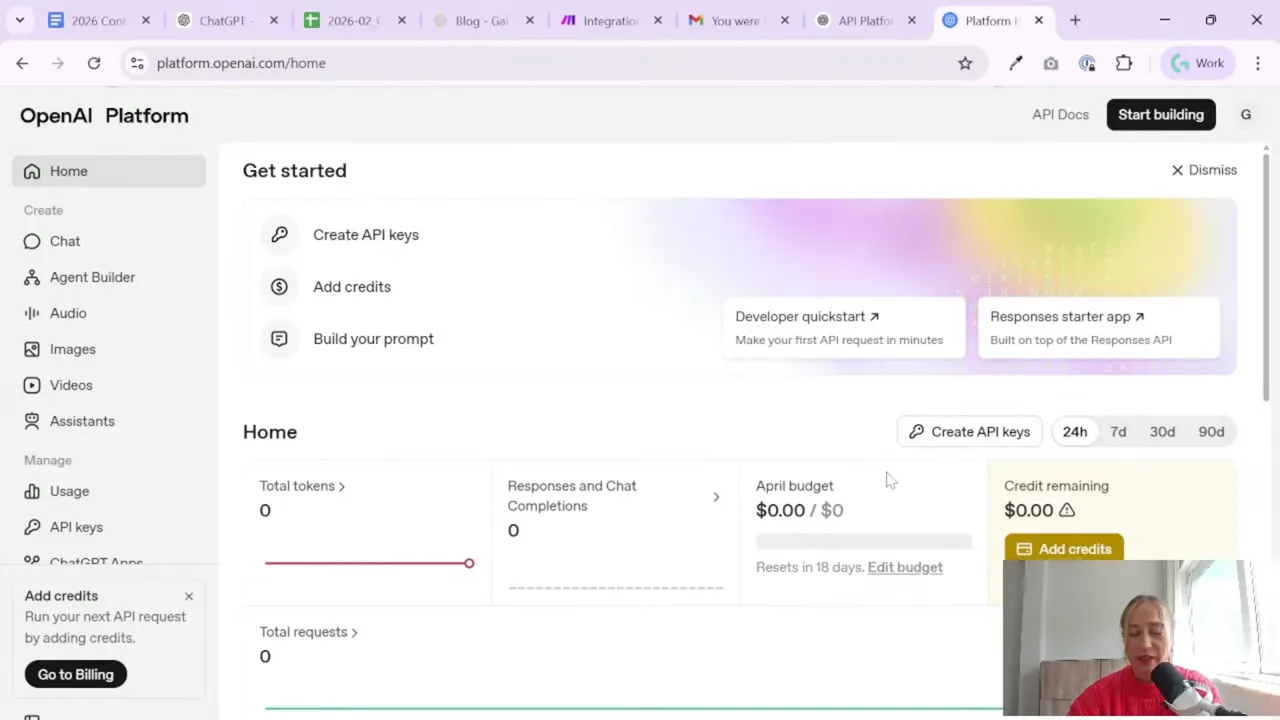
Step 2: Create your OpenAI account and make sure it has credits
To connect ChatGPT-style generation inside Make, you need access to the OpenAI API. A regular ChatGPT login is not enough on its own for automation. Make needs an API key.
So the first step is to go to OpenAI and log in to the platform account you want to use for this automation.
Once inside, check two things:
- Your account or project has billing enabled
- You have enough credits to run API requests
In the example workflow, only a small amount of money is used for article generation. That is worth remembering if you are worried that this kind of setup automatically means huge costs. For many SEO article workflows, API usage can stay very reasonable, especially while testing.
If you work in a team or separate projects by client, it can also make sense to assign a card or billing access at the project level instead of mixing everything in one personal account.
Step 3: Generate a secret API key in OpenAI
Once your OpenAI account is ready, create a secret key. This key is what Make will use to connect to OpenAI and send prompts.
The process is straightforward:
- Open your API settings in OpenAI
- Create a new secret key
- Give it a clear name so you remember what it is for
- Save the key somewhere safe
A simple naming system helps a lot here. For example, if the key is used only for article generation through Make, name it something like “Make Content” or “Make YouTube” or “Blog Automation.” Future-you will be thankful.
Important: secret keys are sensitive. Treat them like passwords. If you accidentally expose one, regenerate it.
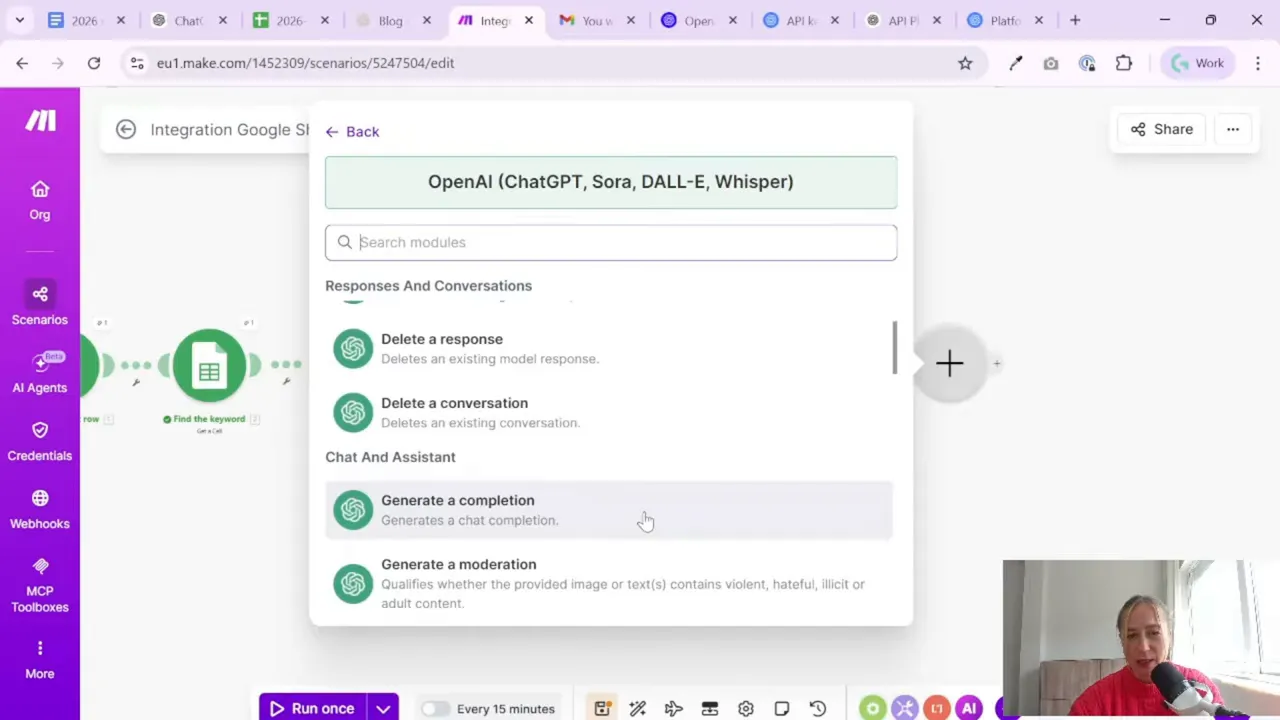
Step 4: Add the OpenAI connection inside Make.com
Now go to your scenario in Make.com. Add an OpenAI module and create a new connection.
For this use case, the key module is the one for chat completions. That is where you define the model and the prompts that tell AI what to write.
Inside the connection setup:
- Paste your OpenAI API key
- You can usually leave the organization ID empty if not needed
- Save the connection with a recognizable name
Once connected, Make can now send instructions to OpenAI as part of your automation scenario.
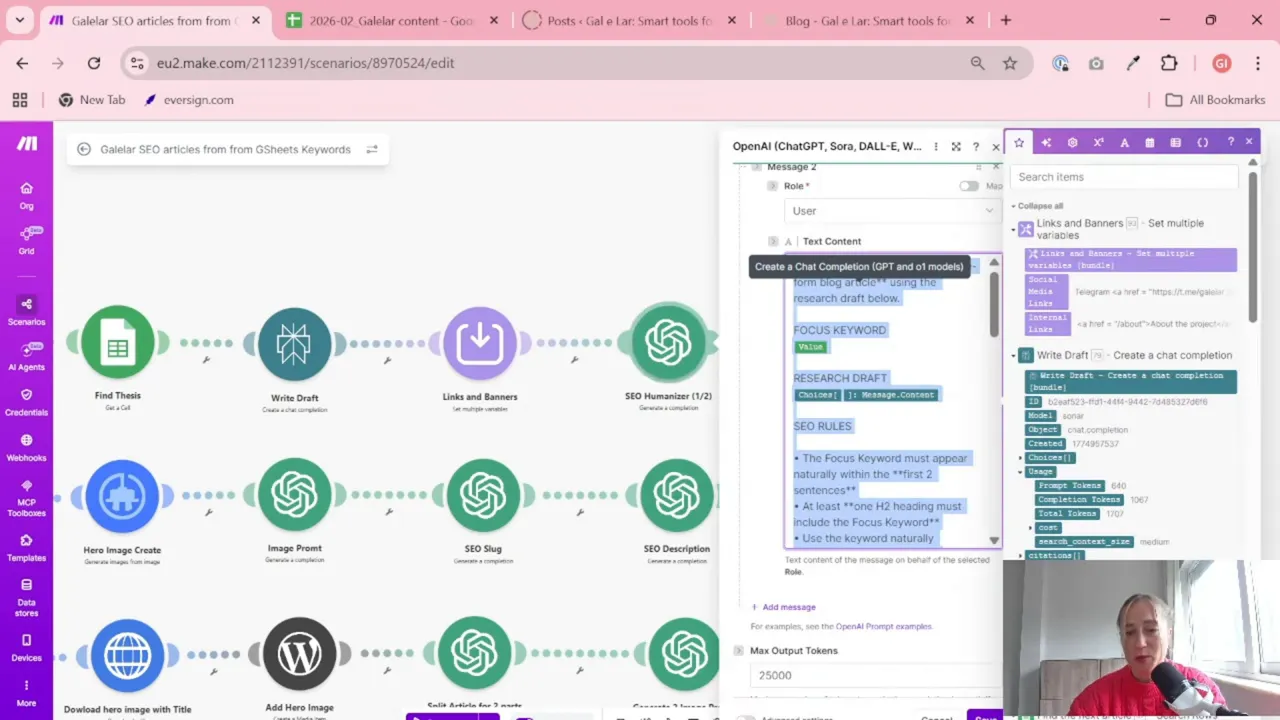
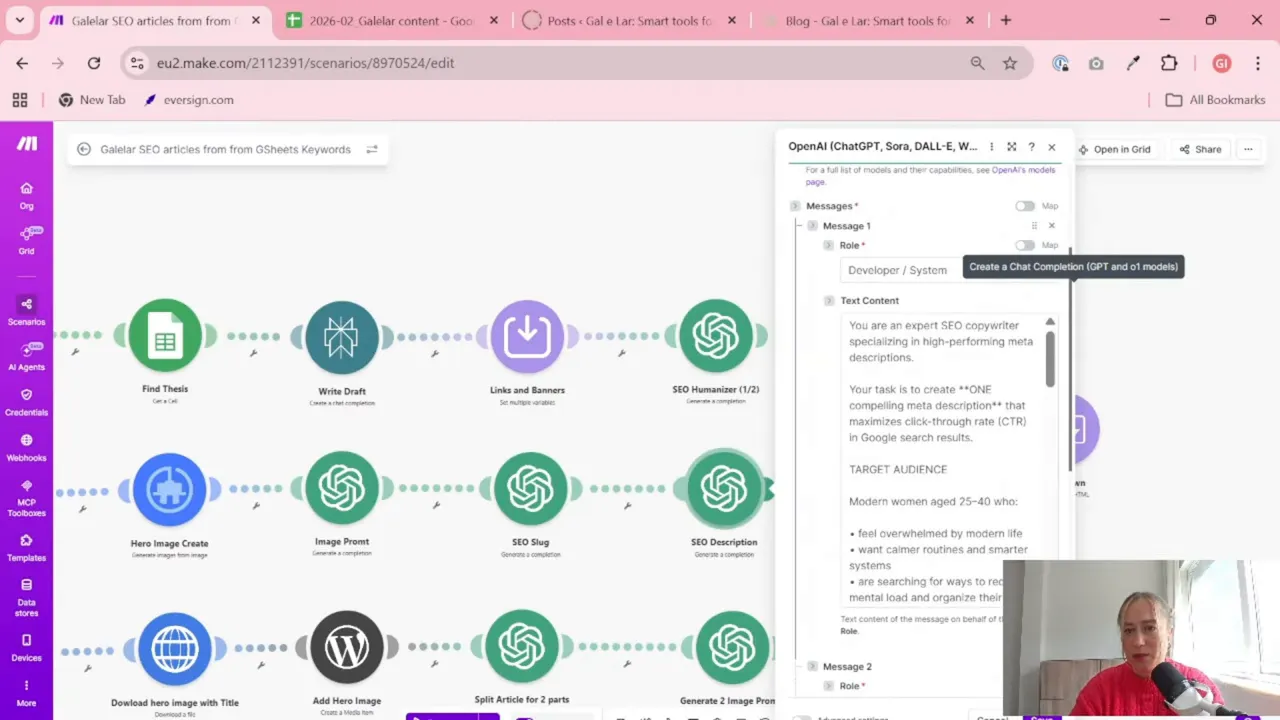
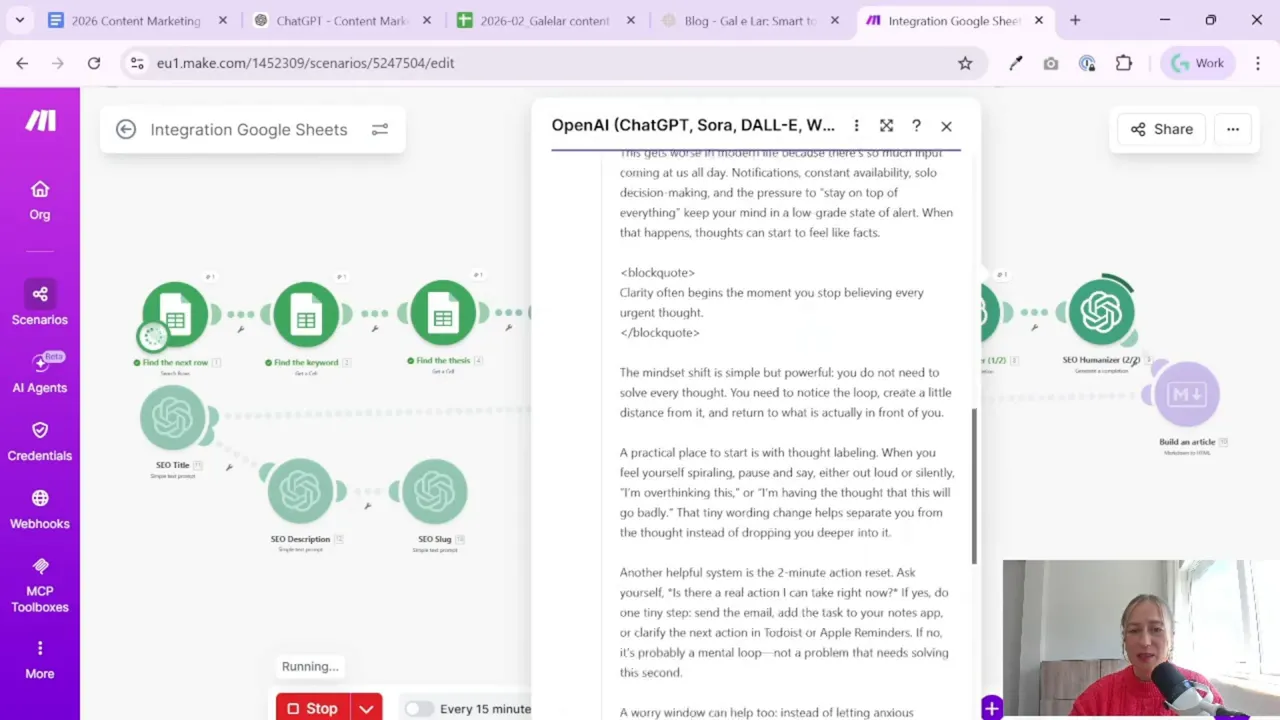
Step 5: Build the first article-writing module
This is where the content logic starts.
The first OpenAI module is used to write the first half of the blog article. Instead of a vague one-line prompt, the setup uses two roles:
- System/developer message: defines the writing role, tone, audience, and style rules
- User message: gives the task, keyword, draft input, SEO rules, and structure requirements
This split is useful because it separates “how to write” from “what to write.” That makes the output more consistent.
What goes into the system prompt?
The system prompt describes the AI as a copywriter and explains the goal clearly. It includes things like:
- The target audience
- The voice and tone
- The content style
- General writing rules
- The required output format
In this case, the output is the first half of a long-form blog article.
What goes into the user prompt?
The user prompt is more task-specific. It includes:
- The SEO keyword
- The draft or research input
- SEO guidance
- Structure instructions
- Length requirements
- Language instructions
- Things to include or avoid
This is also where you can request extras like quotes, headings, or certain writing restrictions. The workflow shown uses large token limits to give the model enough room to complete the task properly.
Step 6: Create a second module for the second half of the article
The next OpenAI module writes part two.
Instead of repeating the first step exactly, this second prompt tells the model that it is now writing the second half of the article. It also references the first part, so the writing can continue naturally instead of starting over.
This is one of the smartest parts of the setup.
Why split the article?
- Long AI outputs are often weaker when generated in one go
- Breaking content into sections improves readability
- The second section can build on the first instead of competing with it
- You get more control over article structure and quality
The second prompt usually includes:
- The same focus keyword
- The first part of the article
- The original draft or research content
- Instructions on what should appear in the second half
This lets you shape the article more deliberately. For example, the first half can handle the introduction and core explanation, while the second half can cover examples, supporting sections, internal links, and wrap-up.
A Tool I Use for Building Automations Like This
For automation, one of my favorite tools is Make.com.
I use it to connect different tools and automate repetitive workflows — for example moving data between APIs, Google Sheets, and reporting systems.

Step 7: Add internal links and supporting content blocks
Before combining the article, the scenario also prepares extra content blocks. These can include:
- Social media links
- Banners or reusable promotional sections
- Internal links to related articles on your site
Internal linking is especially useful for SEO. It helps search engines understand the structure of your site, and it gives readers a better path to related content.
In this setup, three related articles are selected and later inserted into the final article. If you are building a broader SEO system, this kind of content organization becomes even more valuable when paired with reporting dashboards like this Looker Studio organic traffic SEO dashboard.
The nice thing here is that the article is not only generated. It is also being assembled into something that feels like a real website post.
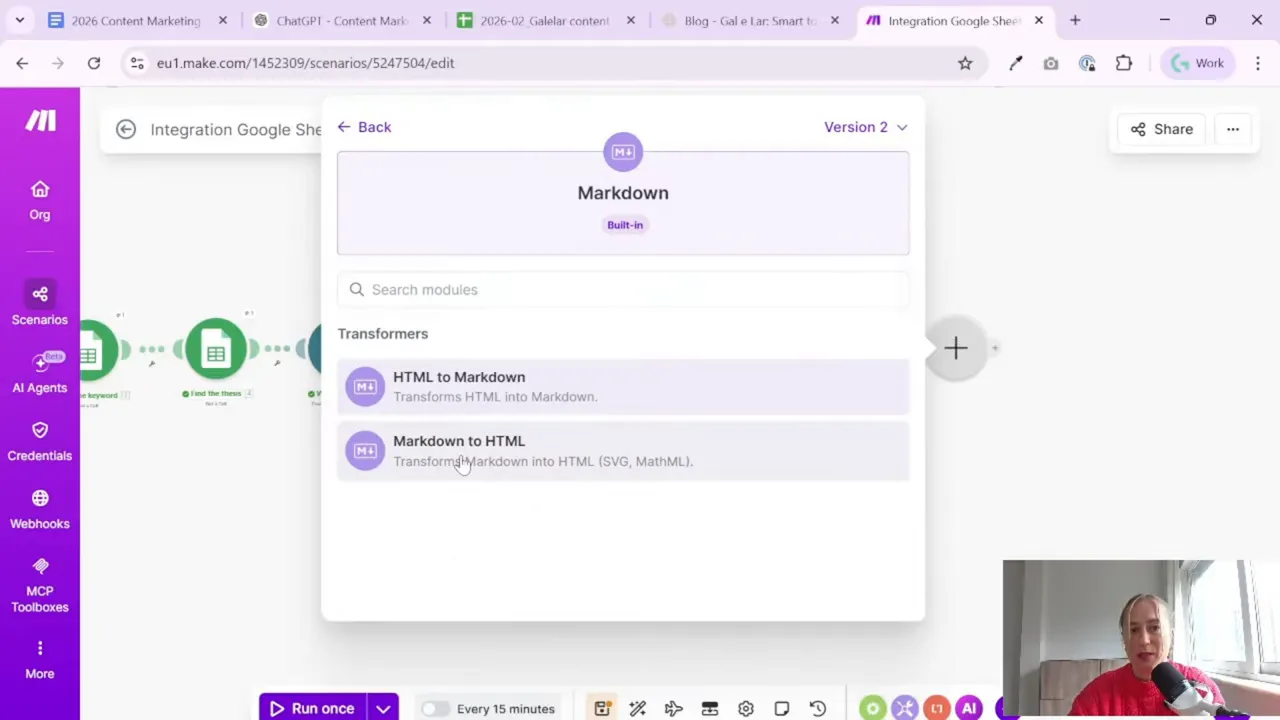
Step 8: Combine everything with Markdown to HTML
Once the two article parts are ready, the next step is to join them into one final piece.
That is done with a Markdown-to-HTML module in Make.
The structure used in the workflow is roughly:
- First part of the article
- A line break
- A reusable block such as social links or banners
- Another line break
- Second part of the article
- Another line break
- A “read more” or internal links section
This step matters because WordPress usually wants HTML-ready content. Even if the text starts as plain markdown, converting it in the scenario means the result is already much closer to publishable.
It also gives you control over exactly where non-text elements appear. In the example, social links are placed in the middle of the article, and related links are added at the end under a helpful callout.
Step 9: Generate the SEO title
After the article body is assembled, the scenario uses another OpenAI module to generate the SEO title.
This module is simpler than the article-writing modules. At this point, you already have the article content and the focus keyword, so the task is much narrower.
The title prompt is designed for an SEO copywriter or headline strategist. The input includes:
- The focus keyword
- The finished article content
The output is a title intended to work for search and still sound natural.
This is a good place to keep things simple. You do not need a giant prompt for every module. When the task is small, a shorter prompt often works fine.
Step 10: Generate the SEO meta description
Next comes the meta description.
Again, this uses a separate AI prompt with the article content and keyword as input. The goal is to create a short summary that supports click-through from search results.
This is one of those details that is easy to skip when publishing manually, especially when you are tired or trying to post quickly. Automating it means every article at least starts with a description ready to review.
And yes, review is still important. The workflow explicitly recommends checking AI outputs instead of blindly trusting them.
That advice is worth repeating: always check what AI gives you.
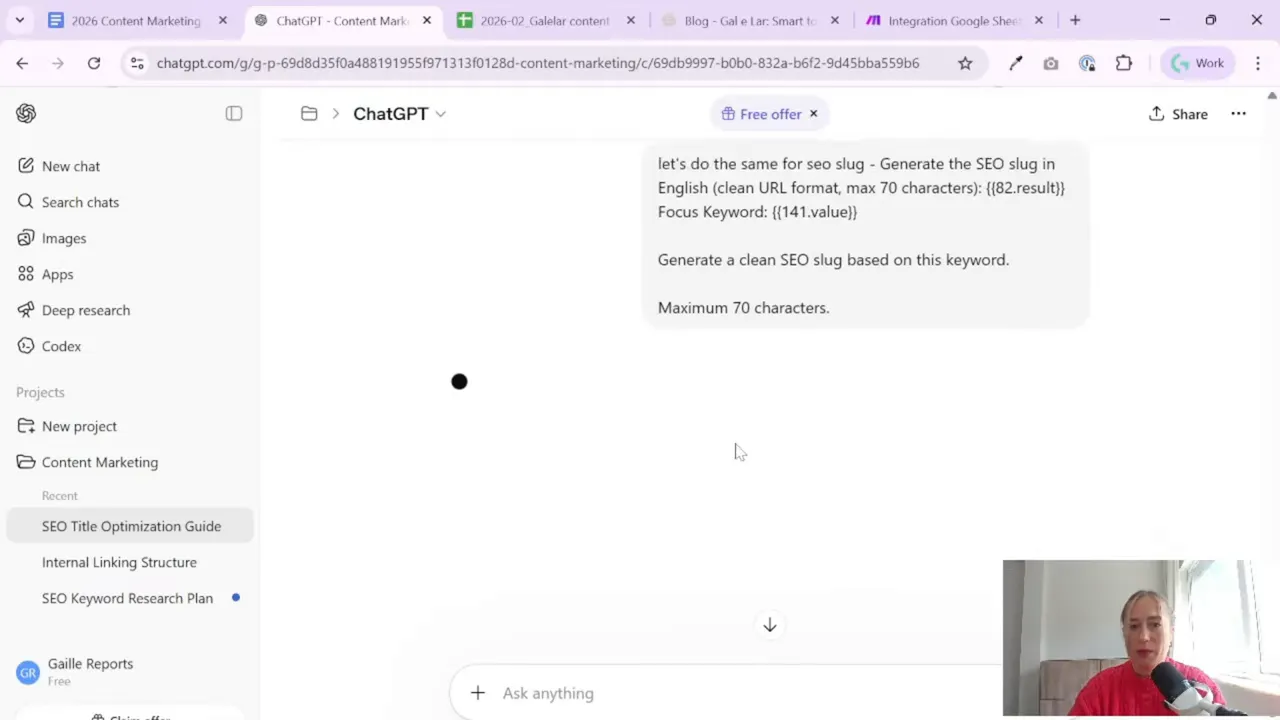
Step 11: Generate the slug for the URL
The last metadata element in this stage is the slug.
The slug is the URL-friendly version of the title. It should be:
- Short
- Readable
- Relevant to the keyword
- Close to the final title
In the scenario, the slug prompt uses the keyword and the article title as inputs. That makes sense because the slug should usually reflect the final headline, not just the draft topic.
Even though this seems like a small step, it keeps your publishing process more consistent. Clean slugs are easier to manage and better for SEO than random or messy URLs.
Step 12: Test the full scenario and inspect the outputs
Once all modules are in place, run the scenario once from start to finish.
This test run helps you check:
- Whether the API connection works
- Whether the prompts return usable content
- Whether the first and second parts flow together
- Whether the markdown converts correctly to HTML
- Whether the title, description, and slug are clean enough to publish
In the example output, the first and second article parts are visible inside Make, then transformed into final HTML. The result includes inserted social links in the middle and a related-content section at the end.
That means the scenario is already doing much more than simple text generation. It is preparing a structured content asset.
Step 13: Keep the “human in the loop” even if the process is automated
This part is important.
Automation can save hours, but it should not replace judgment. A good workflow does the heavy lifting while still leaving room for checks before publishing.
There are a few clear points where human review helps a lot:
- Check that the article actually answers the keyword intent
- Remove strange phrasing or repetition
- Confirm internal links are relevant
- Make sure the title is not awkward or over-optimized
- Verify the slug is clean and accurate
If you are building a content system for clients or for your own site, this middle ground is usually the sweet spot. AI writes faster. You keep the standards.
If your work also includes dashboards and reporting around organic traffic, a template such as this GA4 and Google Search Console SEO report overview can be a helpful companion to the publishing side of the process.
Practical notes before you build this yourself
A few things stand out from this workflow that are worth carrying into your own setup:
- Test prompt structure. One niche may work best with one article block, another with two or three.
- Do not force giant outputs. Longer is not always better. Often it is just more watery.
- Use clear module names. This makes the scenario much easier to debug later.
- Keep prompt documents outside Make too. It is easier to edit and version them.
- Review outputs regularly. AI quality can drift depending on prompt wording and source input.
Also, if you plan to continue the workflow beyond this point, the next logical layer is image automation. That was mentioned as the next stage of the broader system, and honestly, yes, image workflows can be a bit more annoying. But text first is the right foundation.
Summary
Connecting OpenAI to Make.com for content automation is not difficult once you break it into pieces. First, create your API key. Then connect OpenAI in Make. Build one module for the first half of the article, another for the second half, combine the result with Markdown-to-HTML, and finish with title, description, and slug generation.
The big lesson here is not just how to connect tools. It is how to structure AI content so it comes out more usable. Splitting the writing into parts, adding internal links, and generating metadata separately makes the final result much cleaner.
If you want automation that saves time without creating chaos, this is a smart way to do it. Start simple, test your prompts, and keep reviewing the final output like a human who cares about the website. Because, thankfully, that part is still your job.
Want to go further with automation and data workflows?
